

Learn the difference between waiver and release forms, and how digital waivers can protect and grow your business with WaiverSign.
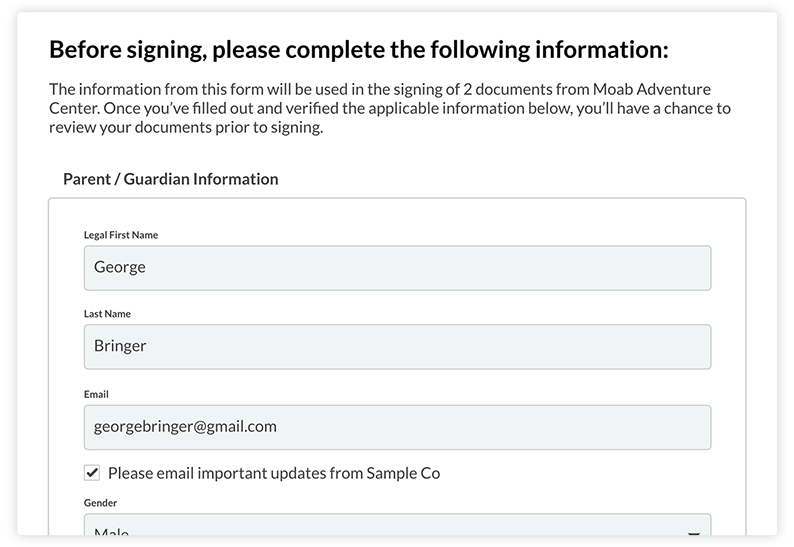
Sometimes even grownups need permission slips. Whether it’s an informed consent form, a parental consent form, or anything in between, we can help.

While it’s always best to consult a lawyer when drafting a waiver, there are still a few guidelines we can offer to help you do it right.
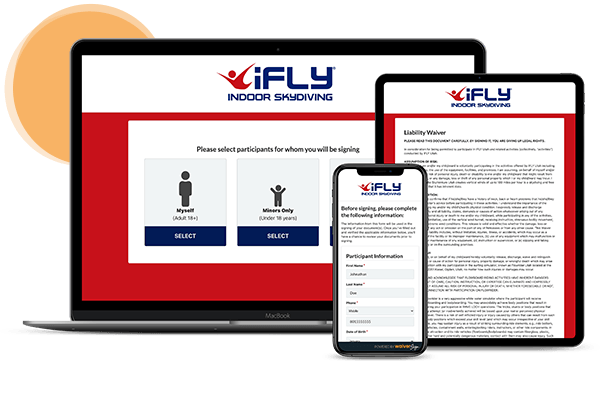
Using online waivers with WaiverSign? Learn what waivers actually protect, what they don't, and how to keep your business legally prepared.
Our 8 part series on liability waivers and how to use them most effectively begins with an introduction: what are they, and do you need one?

Liability waivers & release forms can do a lot to protect a business, but only if they’re written properly. Here, are some tips from a lawyer on how.

Switching to digital waivers helps reduce paper waste, lower carbon emissions, and support sustainability while making business operations more efficient.
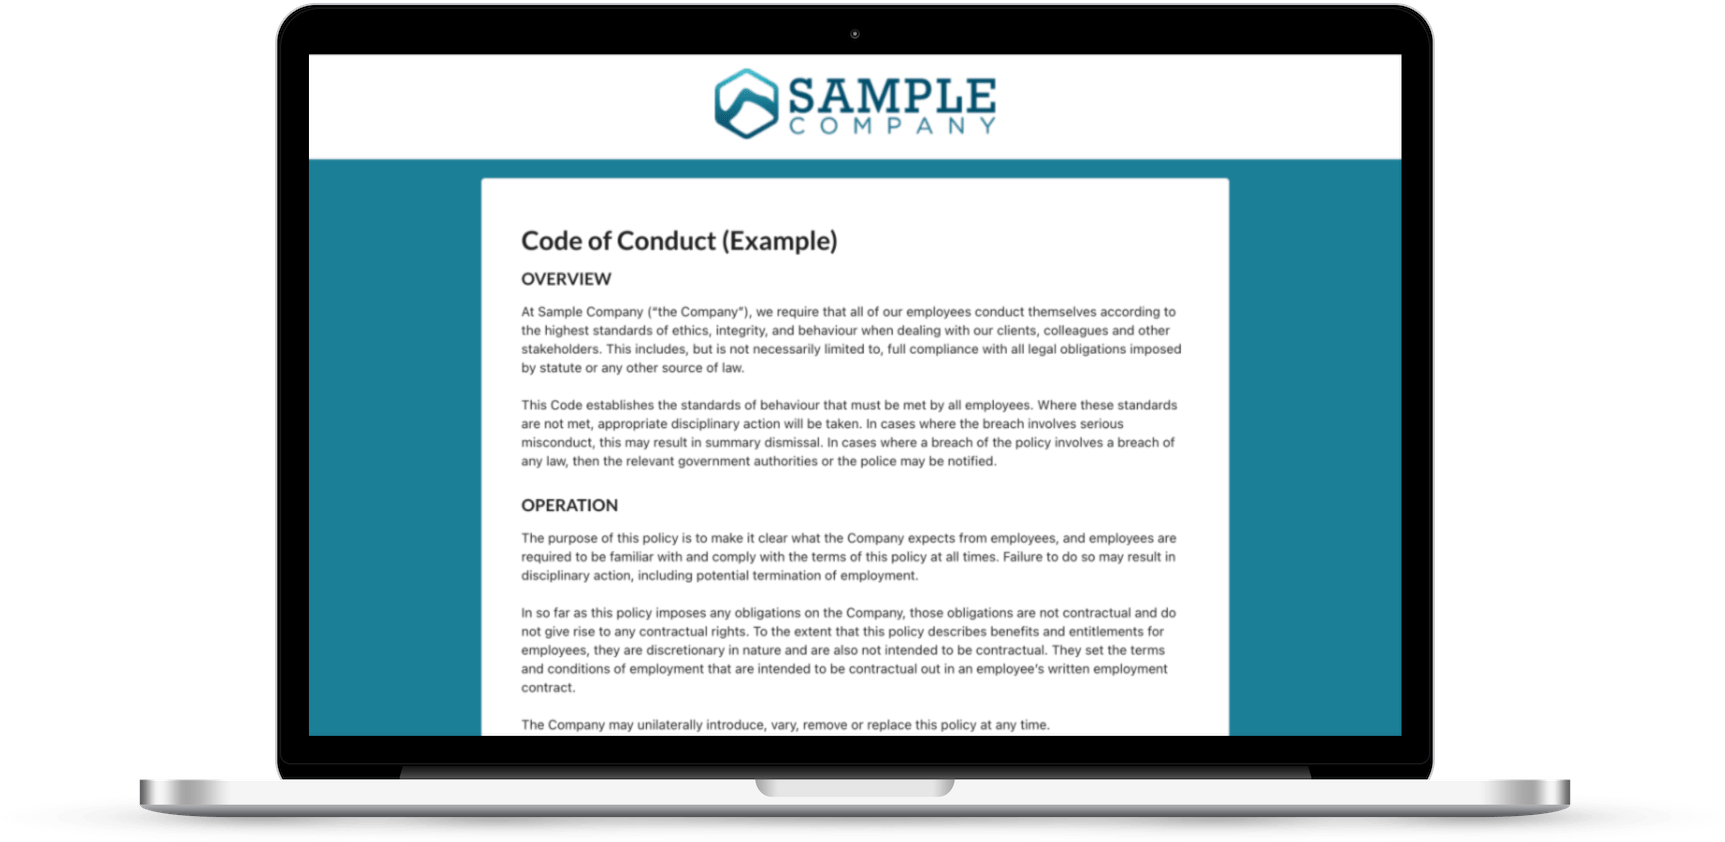
What is a code of conduct? A CoC is a set of rules outlining the acceptable behavior of a person or group of people, be it general rules or specific contexts.