Simplify Your Process, Elevate Your Marketing, and Impress Clients in 8 Steps
Online Waiver & Release of Liability
Creating an online waiver is simple and seamless with WaiverSign. Our step-by-step process ensures you’ll be up and running in no time, with minimal effort on your part. From setting up your waiver to sending it out for signatures, every step is designed to be intuitive and efficient. Once complete, you’ll see a sleek, professional waiver that not only meets your needs but also impresses your clients.
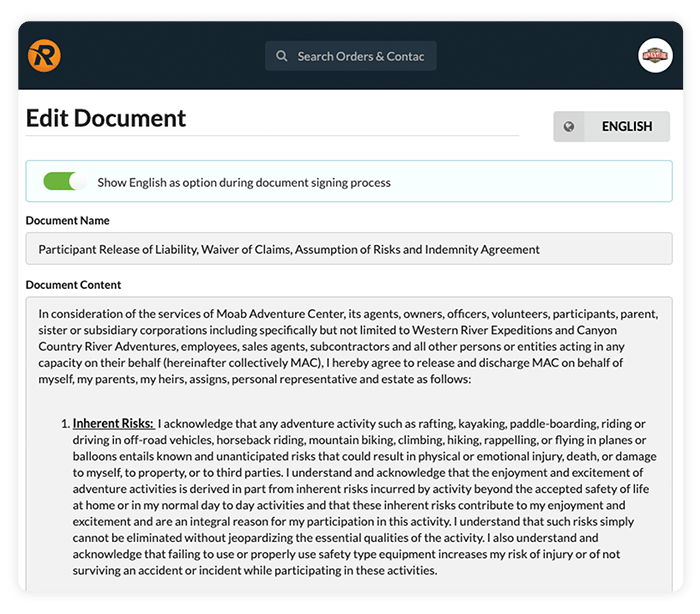
Create a custom online waiver or release of liability
Business Owner Becky creates her account on WaiverSign. She has an existing Release of Liability Form that is fairly straightforward. She opens the document on her computer and copies and pastes the content into WaiverSign.
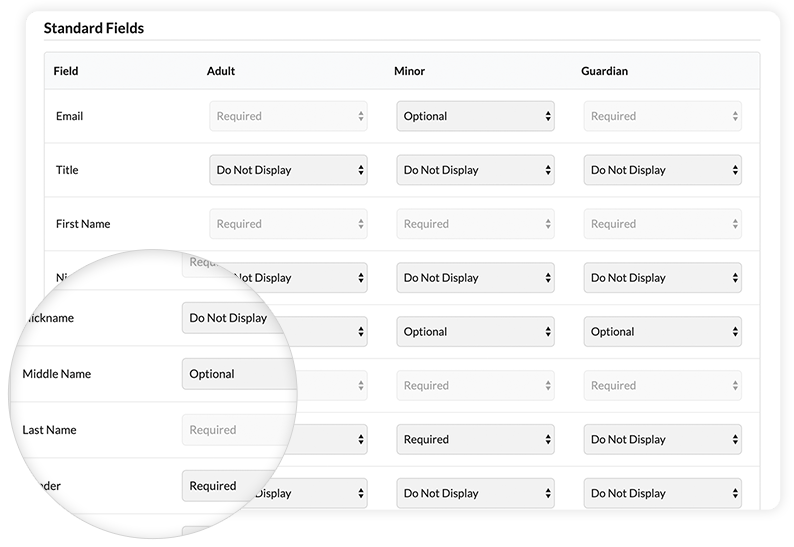
Decide what information to collect on the waiver
Next, Becky chooses what information she wants to collect on her liability waiver. She has 16 standard fields to choose from, including name, address, phone, and date of birth, as well as custom fields that she can create to gather additional information.
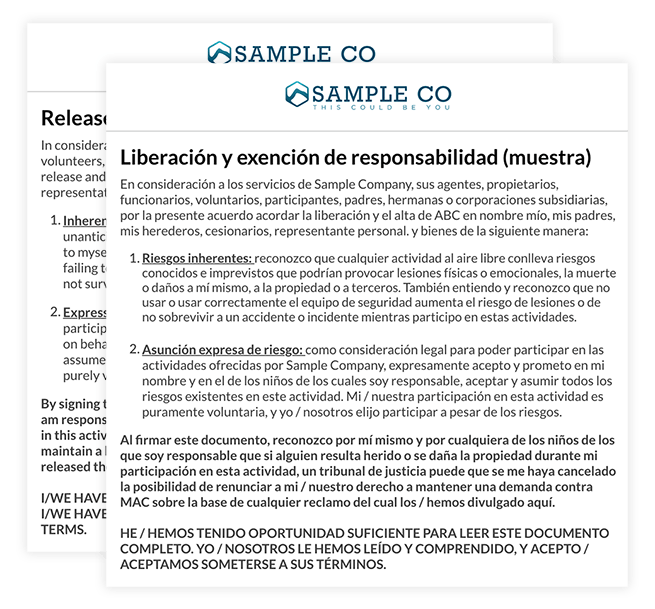
Decide what language options to show for the waiver
Becky then decides it would be a good idea to have her online waiver in both english and spanish since many of her participants are native spanish speakers. She toggles over to spanish and pastes in a version of the release form in spanish. Becky knows this will help protect her if one of her participants claims that they couldn’t understand her Release of Liability Form in english.
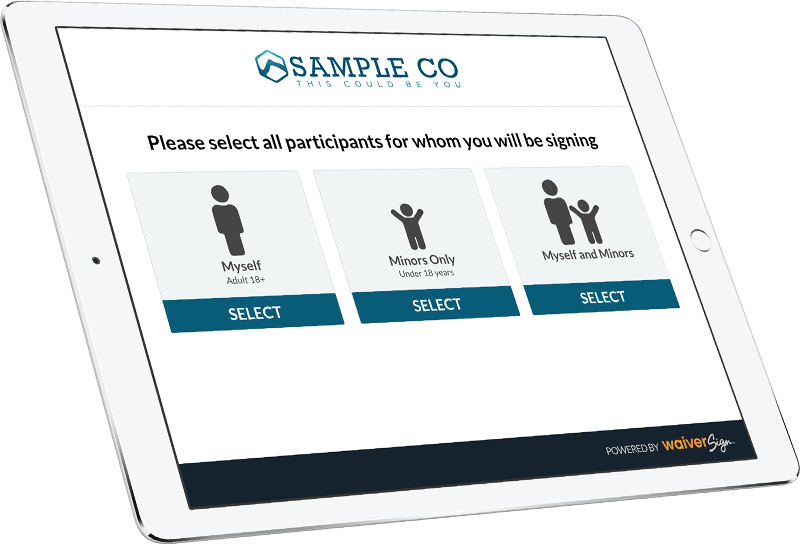
Present your online waiver to your participants
Once Becky has her documents all ready and has reviewed the process with a lawyer, she is ready to have her online release form signed. Her legal counsel suggested that it would help protect her further if she collected the signed online waivers in advance. She likes that idea, but knows that some people will still show up not having signed it, so Becky decides to do the following:
- Includes a link to the online waiver in the confirmation email
- Puts the online waiver link on a webpage and directs participants it
- Sets up an on-location kiosk and have participants sign when they arrive
Collect signed waivers and participant information
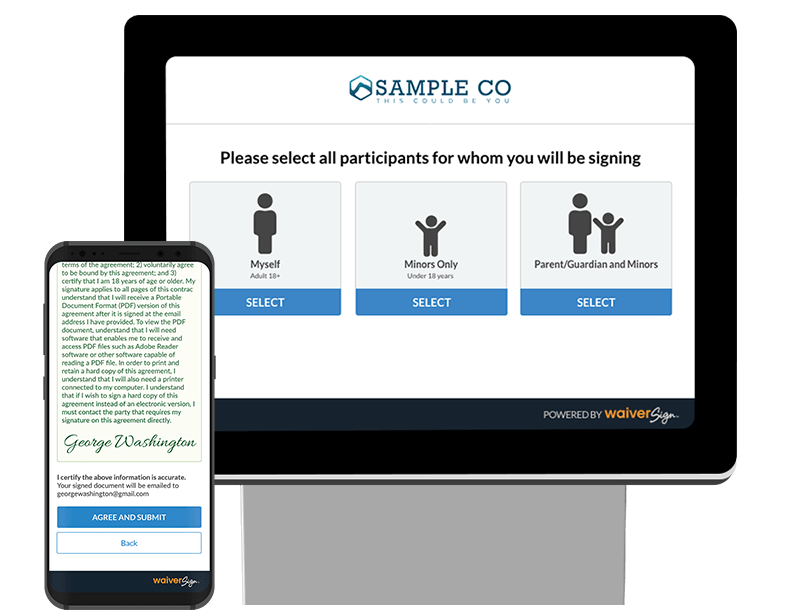
Now that Becky has everything set up, she is excited to collect her first electronic signature on her new online release form. Minutes later, she gets a call from Pamela Participant who is registering herself and her two boys, Peter and Paul. She sends off the confirmation email which is received by Pamela. Pamela clicks the link to sign the online release form and is walked through a few simple steps.

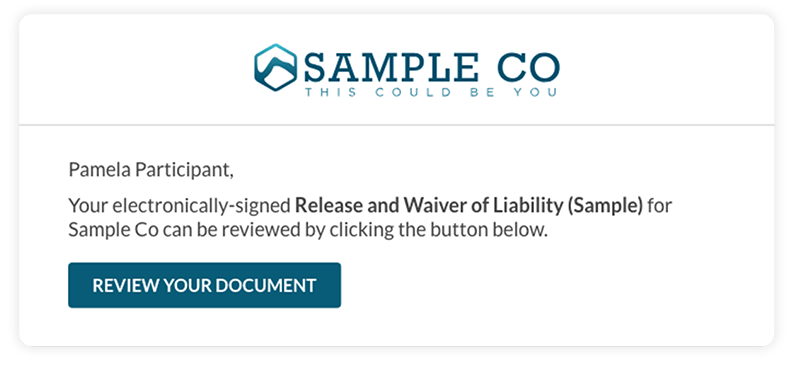
Optional notifications are sent whenever an online waiver is signed
Meanwhile, Becky notices her email inbox is lighting up with some new messages. She just received confirmation of all 3 online release forms being signed.
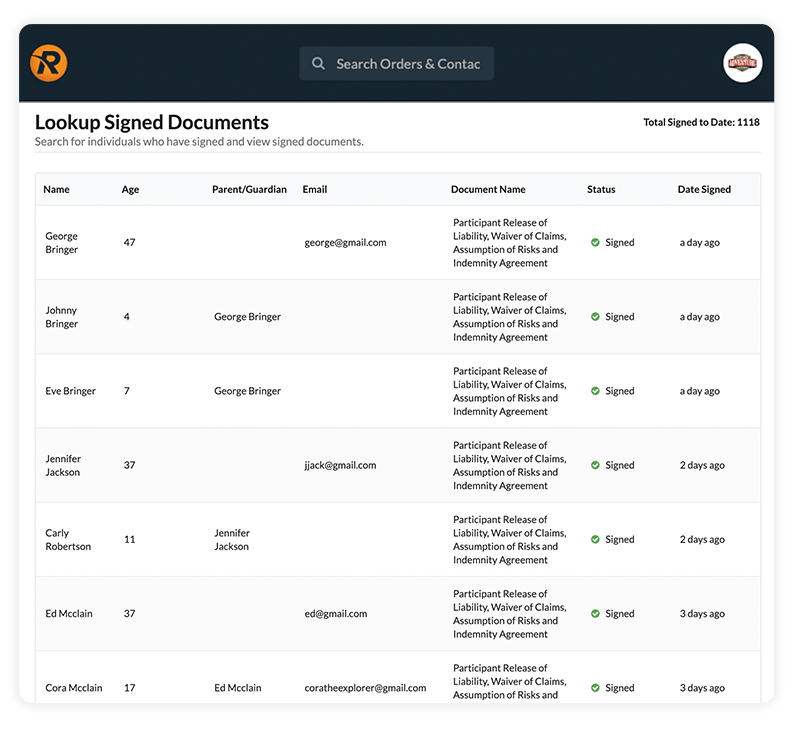
Signed online waivers are stored for easy retrieval
Excited to see how this looks inside WaiverSign, Becky goes to “View all Signed” in the application and sees the 3 forms that have been signed. She can click each one and view or print the signed release form if needed.
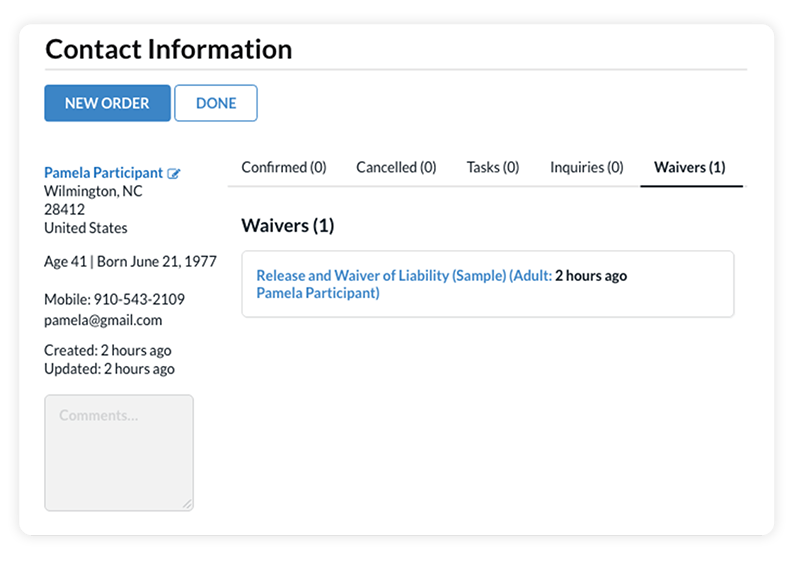
Contacts are stored in the WaiverSign marketing database
Becky also notices that Pamela is now added as a contact in WaiverSign with all her personal and demographic information stored. Becky is so happy she won’t have to collect paper waivers by hand and key in all the personal data (that she could barely read) into her marketing database. She can now see who has opted in to receive newsletters and add them to her email list with a simple export.
Ready to Try WaiverSign for Free?
Enter your email when prompted, and you'll not only test the signing process but also receive a sample of the follow-up email for a complete demonstration.